Saturday, February 16, 2013

clay, rubber, wax, sprue!

50/50 to make the rubber


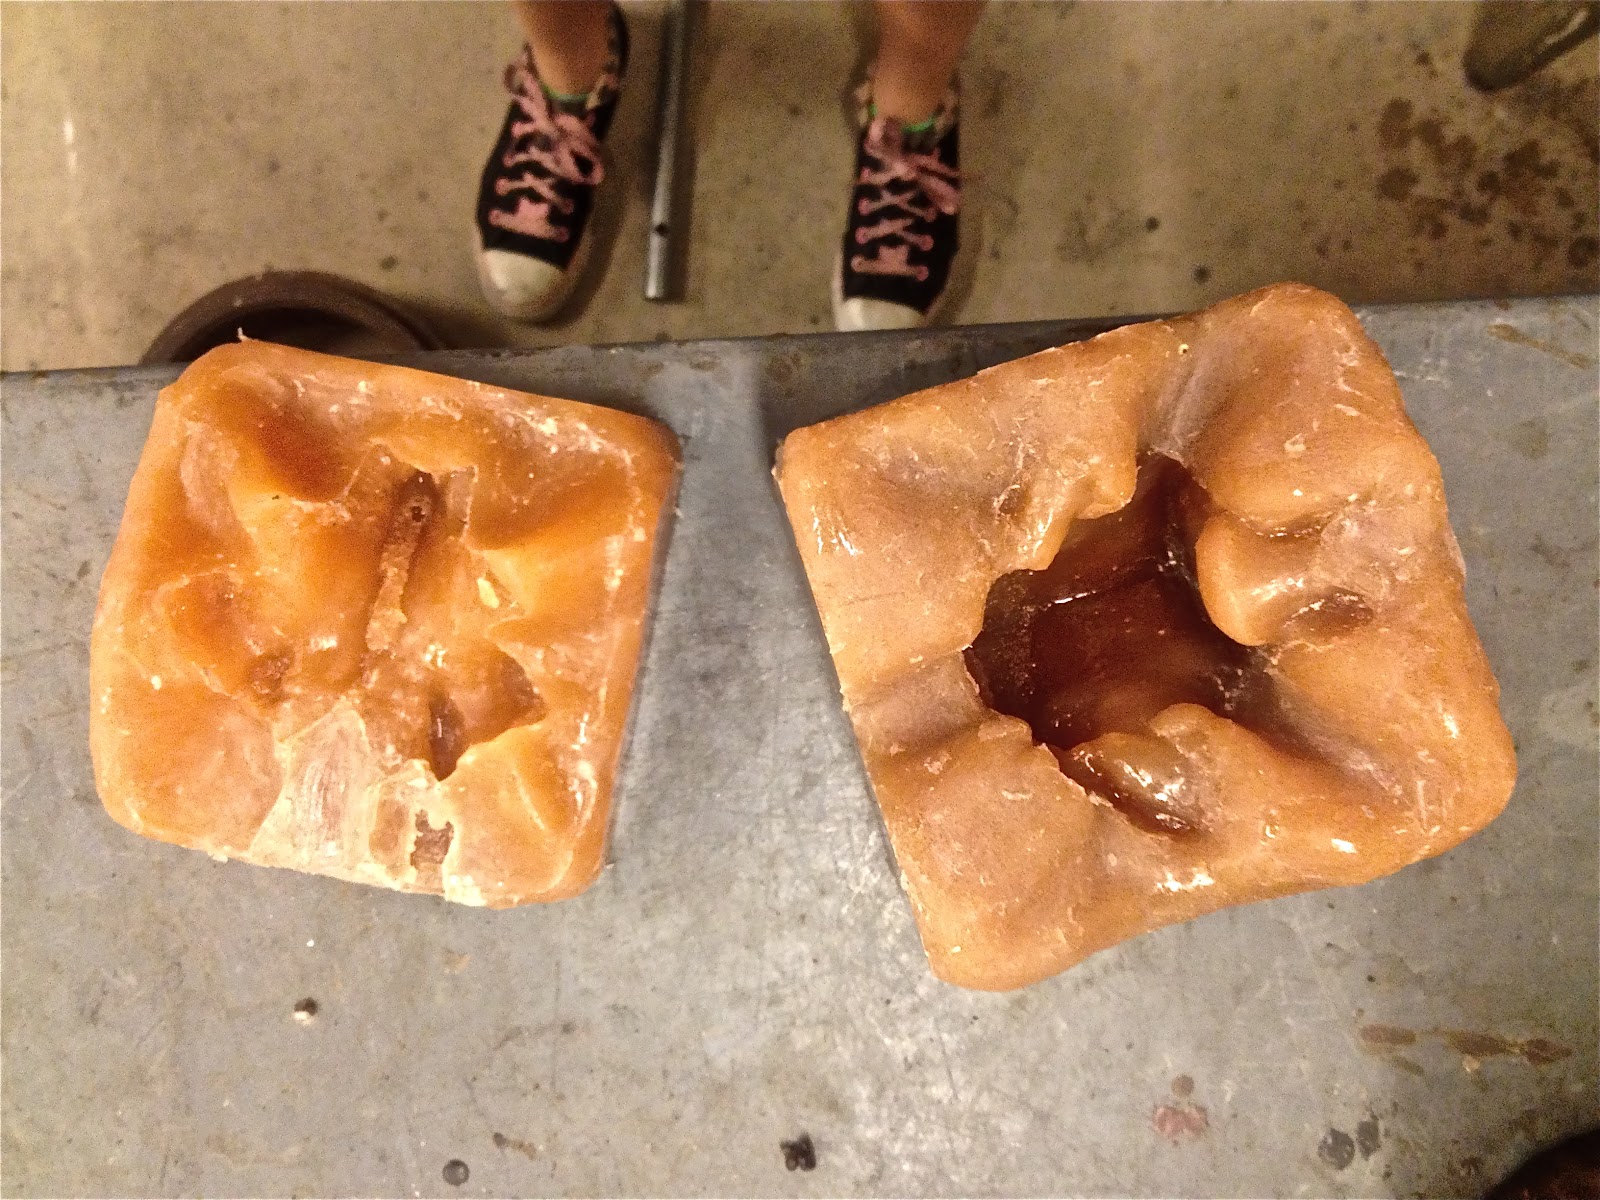
 the rubber mold once the clay has been removed and the wood frame
 wax melting to 120 degrease, then poured into the rubber mold
 The molds are sprayed with adhesive
 then tied with rubber tubing
 then buried in a sand pit
Lastly the wax is poured into the rubber mold to then let dry until a 1/4'' wax wall lines the interior. I then pour out the remaining wax back into the melting pot

 The clay ribs and sternum abstraction
 the piece is cut into four parts to be casted


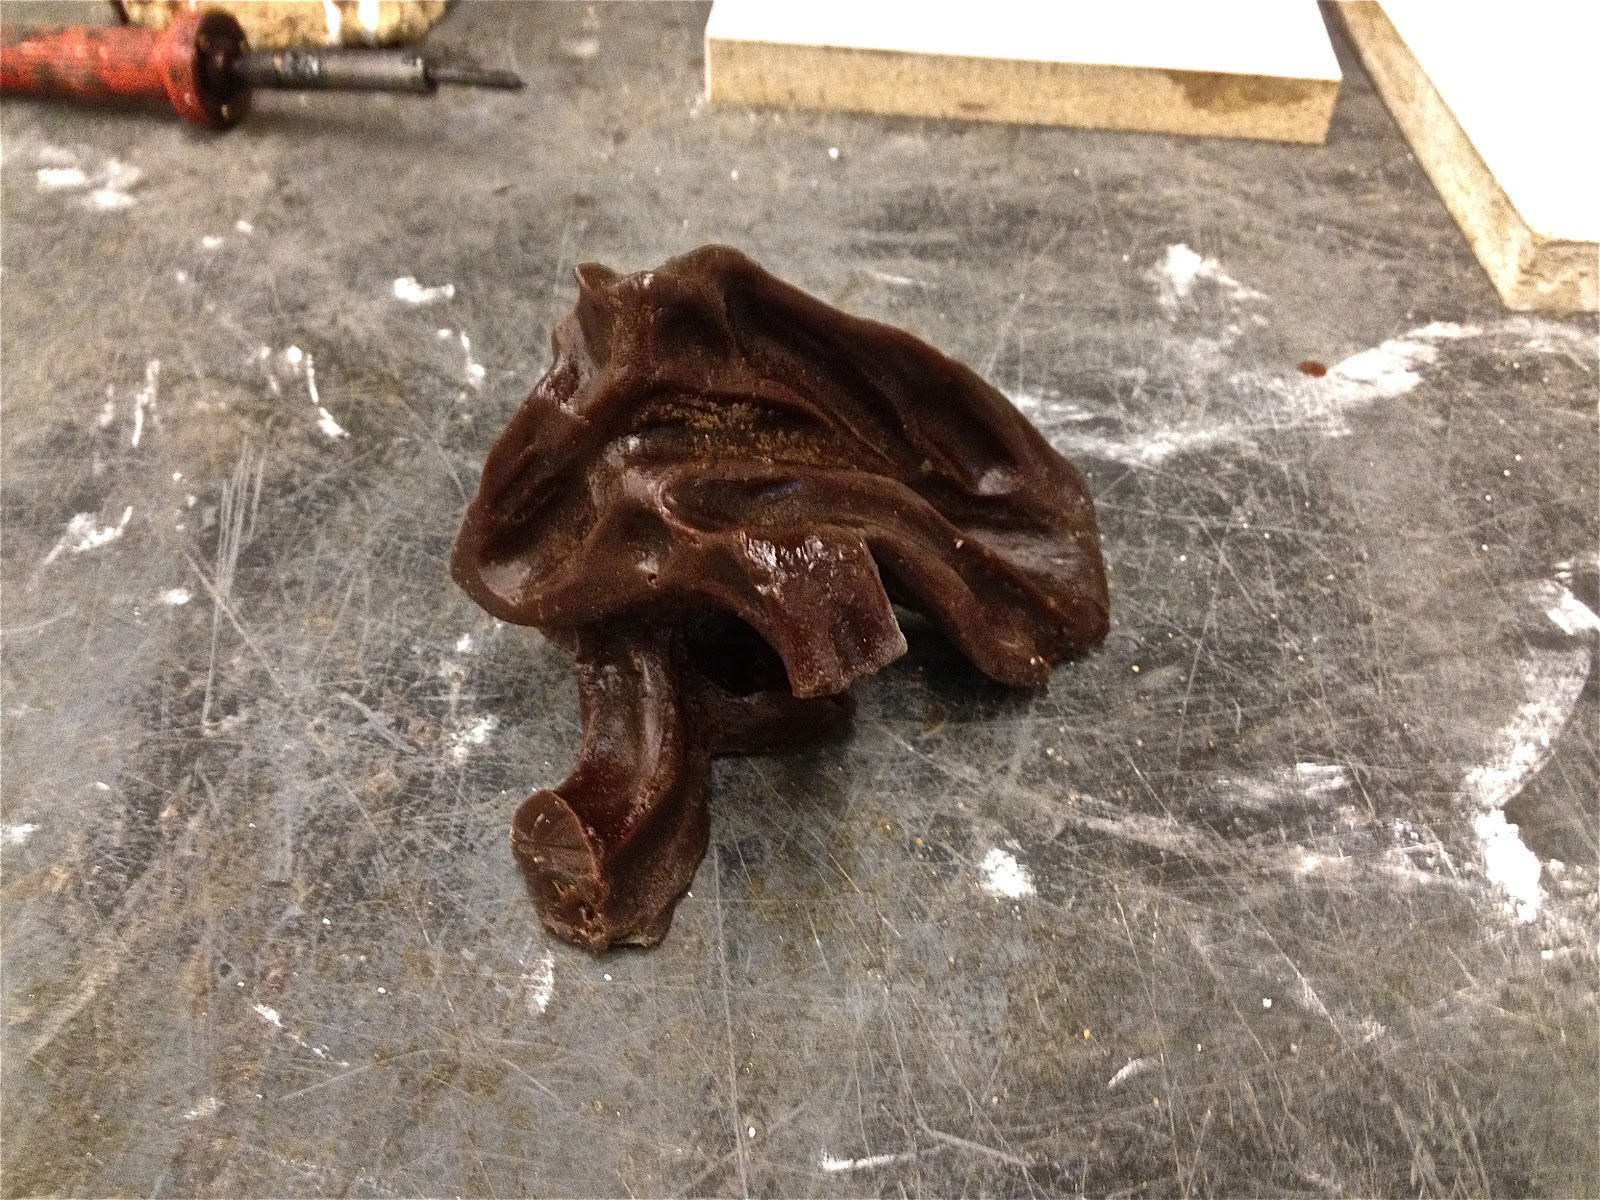
 The wax spinal disk came out great on the third try


 To then make the sprue's, I had to use a plaster mold and pour in wax to create a thick wax channel for the bronze to flow
 wax sternum

 small part of the ribs, made with a simple silicone mold


Friday, February 15, 2013

Spinal disks and ribs

My first project of the semester is going to consist of bronze castings, metal fabrication and use of other materials such as glass, mirror, and found objects. 

I prefer to being in water based clay for what I am going to ultimately cast in bronze. 

Here are the planning sketches for how I will construct the molds. Planning out the air passages and how the rubber will release from the molds


A clay wall is built for a two part rubber mold


 I built a wood box to contain the rubber


Friday, December 14, 2012

finally complete! And to my satisfaction


The arm textured with a needle scale and sand blasted to cover up the welding seams

 Patination: heating up with a propane torch until the pores of the bronze open up and sweat


 Then a wax seal after a night of aging

 Final steps for the stand, 1''x1'' steel squares to weld to the base of the legs to fit the wheels

 after a bottle of glass cleaner!


Sunday, November 25, 2012

putting together the stand


Laying out all the polished pieces to clamp together 

 Not a one man job, thank you matt for helping me clamp and hold the piece in place.

 This is the clamped together stand up right

The creation of the pedestal


Precise measurements are key 


I am creating a stand for my bronze arm piece, roughly 35+ pounds, so this stand must be build right.

The stand frame is build from 1'' angle steel cut at 45 degree angles to create two precise rectangles. The rectangles will be enclosed with tempered 1/4'' glass, that I will fuse with a silicone binder. The glass box is 21.5'' X 12'' X 6''. The steel frame extends down from the box roughly 3' to the ground where I will install steel wheels on the end of each leg.


I had to re-make the steel frame boxes a couple times because they were not up to par. 
After the boxes are assembled to satisfaction, I grind down the welds so that the glass will lay evenly in the boxes. 


the re-cast and piecing of the arm parts


I used a tack welder to weld together the finger and arm parts, using bronze rod
My final piece is going to be displayed on a mirror so that the underside can be reflected down and seen